The Complete Hiking Daypack Guide: Choosing, Packing, and Using Your Pack
Last updated: April 2026
Your daypack is the foundation of every day hike. Get it right, and the trail feels effortless. Get it wrong, and you'll be uncomfortable, disorganized, and wishing you'd stayed home. This guide covers everything from choosing the right pack to packing it like a pro.
Choosing the Right Daypack Size
Daypack capacity is measured in liters. Here's how to match your pack to your hiking style:
15-20 Liters: Short & Simple
Perfect for hikes under 3 hours in mild weather. Fits water, snacks, a light layer, and essentials. If you're doing neighborhood trails or quick nature walks, this is all you need.
20-25 Liters: The Sweet Spot
This is the range most day hikers should target. A 20L pack handles full-day hikes with room for water (2-3 liters), lunch, extra layers, first aid, and a few extras. The 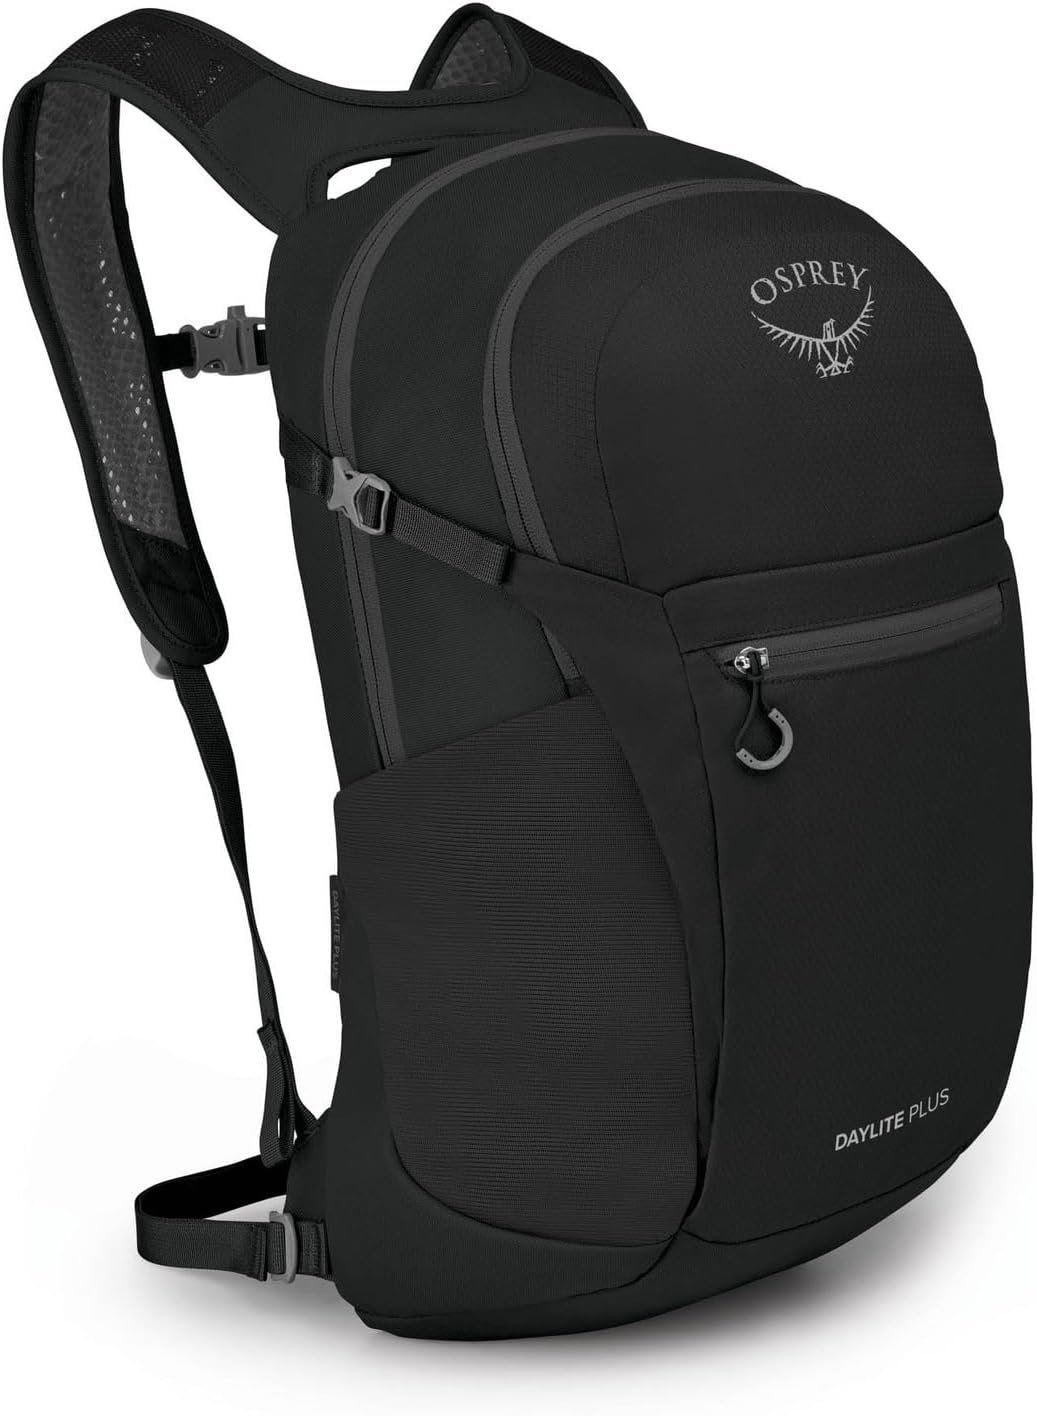 Osprey Hikelite 20 is a popular choice in this range — lightweight with excellent ventilation and just enough organizational pockets.
25-35 Liters: Full Day & Beyond
Choose this size for longer day hikes (6+ hours), winter hiking (bulkier layers), photography trips, or when hiking with kids (you'll carry their stuff too). More room means more flexibility, but also more weight.
Daypack Fit: More Important Than Features
The best daypack in the world is useless if it doesn't fit your body. Here's what to look for:
- Torso length: The pack should sit between your shoulders and hips. Most daypacks come in one size, which fits torsos from 16-21 inches.
- Hip belt: The belt should sit on your hip bones (iliac crest), not your waist. A padded hip belt transfers 60-80% of the weight off your shoulders.
- Shoulder straps: Should curve naturally over your shoulders without gaps or pressure points. Look for adjustable sternum straps to fine-tune the fit.
- Ventilated back: A mesh back panel or suspended mesh design keeps air flowing between the pack and your back. This is a game-changer on hot days.
How to Pack Your Daypack Efficiently
Smart packing makes everything easier on the trail. Here's the system that works:
Bottom of the Pack
Stuff your rain jacket and extra insulation layer here. You probably won't need them until you stop moving, so they can stay at the bottom. The  Columbia Watertight II Jacket stuffs into its own pocket, making it perfect for this spot.
Middle — Close to Your Back
This is where your heaviest items go: your water reservoir, your lunch, and any dense gear. Keeping weight close to your back and centered improves balance and reduces fatigue. A  Hydro Flask 32oz in a side pocket also works if you prefer bottles over a reservoir.
Top of the Pack
Frequently accessed items go on top: sunscreen, snacks, your trail map, and sunglasses. If you need to stop and grab something quickly, you don't want to dig through everything.
Hip Belt Pockets
Phone, lip balm with SPF, a few energy chews, and your car key. These small pockets are prime real estate for things you need without stopping.
Side Pockets
Water bottles, trekking poles (when not in use), and a small tripod if you're into trail photography.
Essential Daypack Contents Checklist
No matter how short the hike, always carry these:
- Water: At least 1 liter per 2 hours of hiking. In summer, bring more.
- Snacks: Trail mix, energy bars, fruit. Bring 200-300 calories per hour of hiking.
- First aid kit: The
 Adventure Medical Kits Ultralight .7 covers blisters, cuts, sprains, and allergic reactions in a waterproof package.
 - Sun protection: Sunscreen, sunglasses, hat.
- Navigation: Phone with offline map + a backup. The
 Garmin eTrex SE is a reliable GPS that works when your phone doesn't.
 - Rain layer: Always. Weather changes fast on trails.
- Headlamp: Even for day hikes. If you're delayed, you need light.
- Emergency whistle: Most packs have one built into the sternum strap buckle.
Common Daypack Mistakes to Avoid
- Overpacking: A 30L pack doesn't mean you need to fill it. Start with the essentials and add only what the specific hike demands.
- Ignoring the hip belt: If your pack has one, use it. Shoulder-only carrying causes fatigue and back pain on anything over an hour.
- Packing water too deep: If your water is buried at the bottom, you won't drink enough. Keep it accessible.
- No rain cover: Many packs come with a built-in rain cover. If yours doesn't, buy one. Wet gear is miserable gear.
- Wrong pack for the activity: A running vest isn't a hiking pack. A 40L backpacking pack is overkill for a day hike. Match the pack to the activity.
Daypack Care and Maintenance
A good daypack lasts 5-10 years with proper care:
- Empty and air-dry after every hike — don't leave sweaty gear inside.
- Spot clean with mild soap and water. Avoid machine washing unless the manufacturer says it's OK.
- Check zippers and buckles regularly. A stuck zipper on the trail is frustrating.
- Store uncompressed in a dry place. Don't stuff it in a tight corner for months.
- Re-waterproof the rain cover periodically if it's separate from the pack.
Related reading: Complete Day Hike Packing List | How to Choose Hiking Shoes | Trail Hydration Strategies